
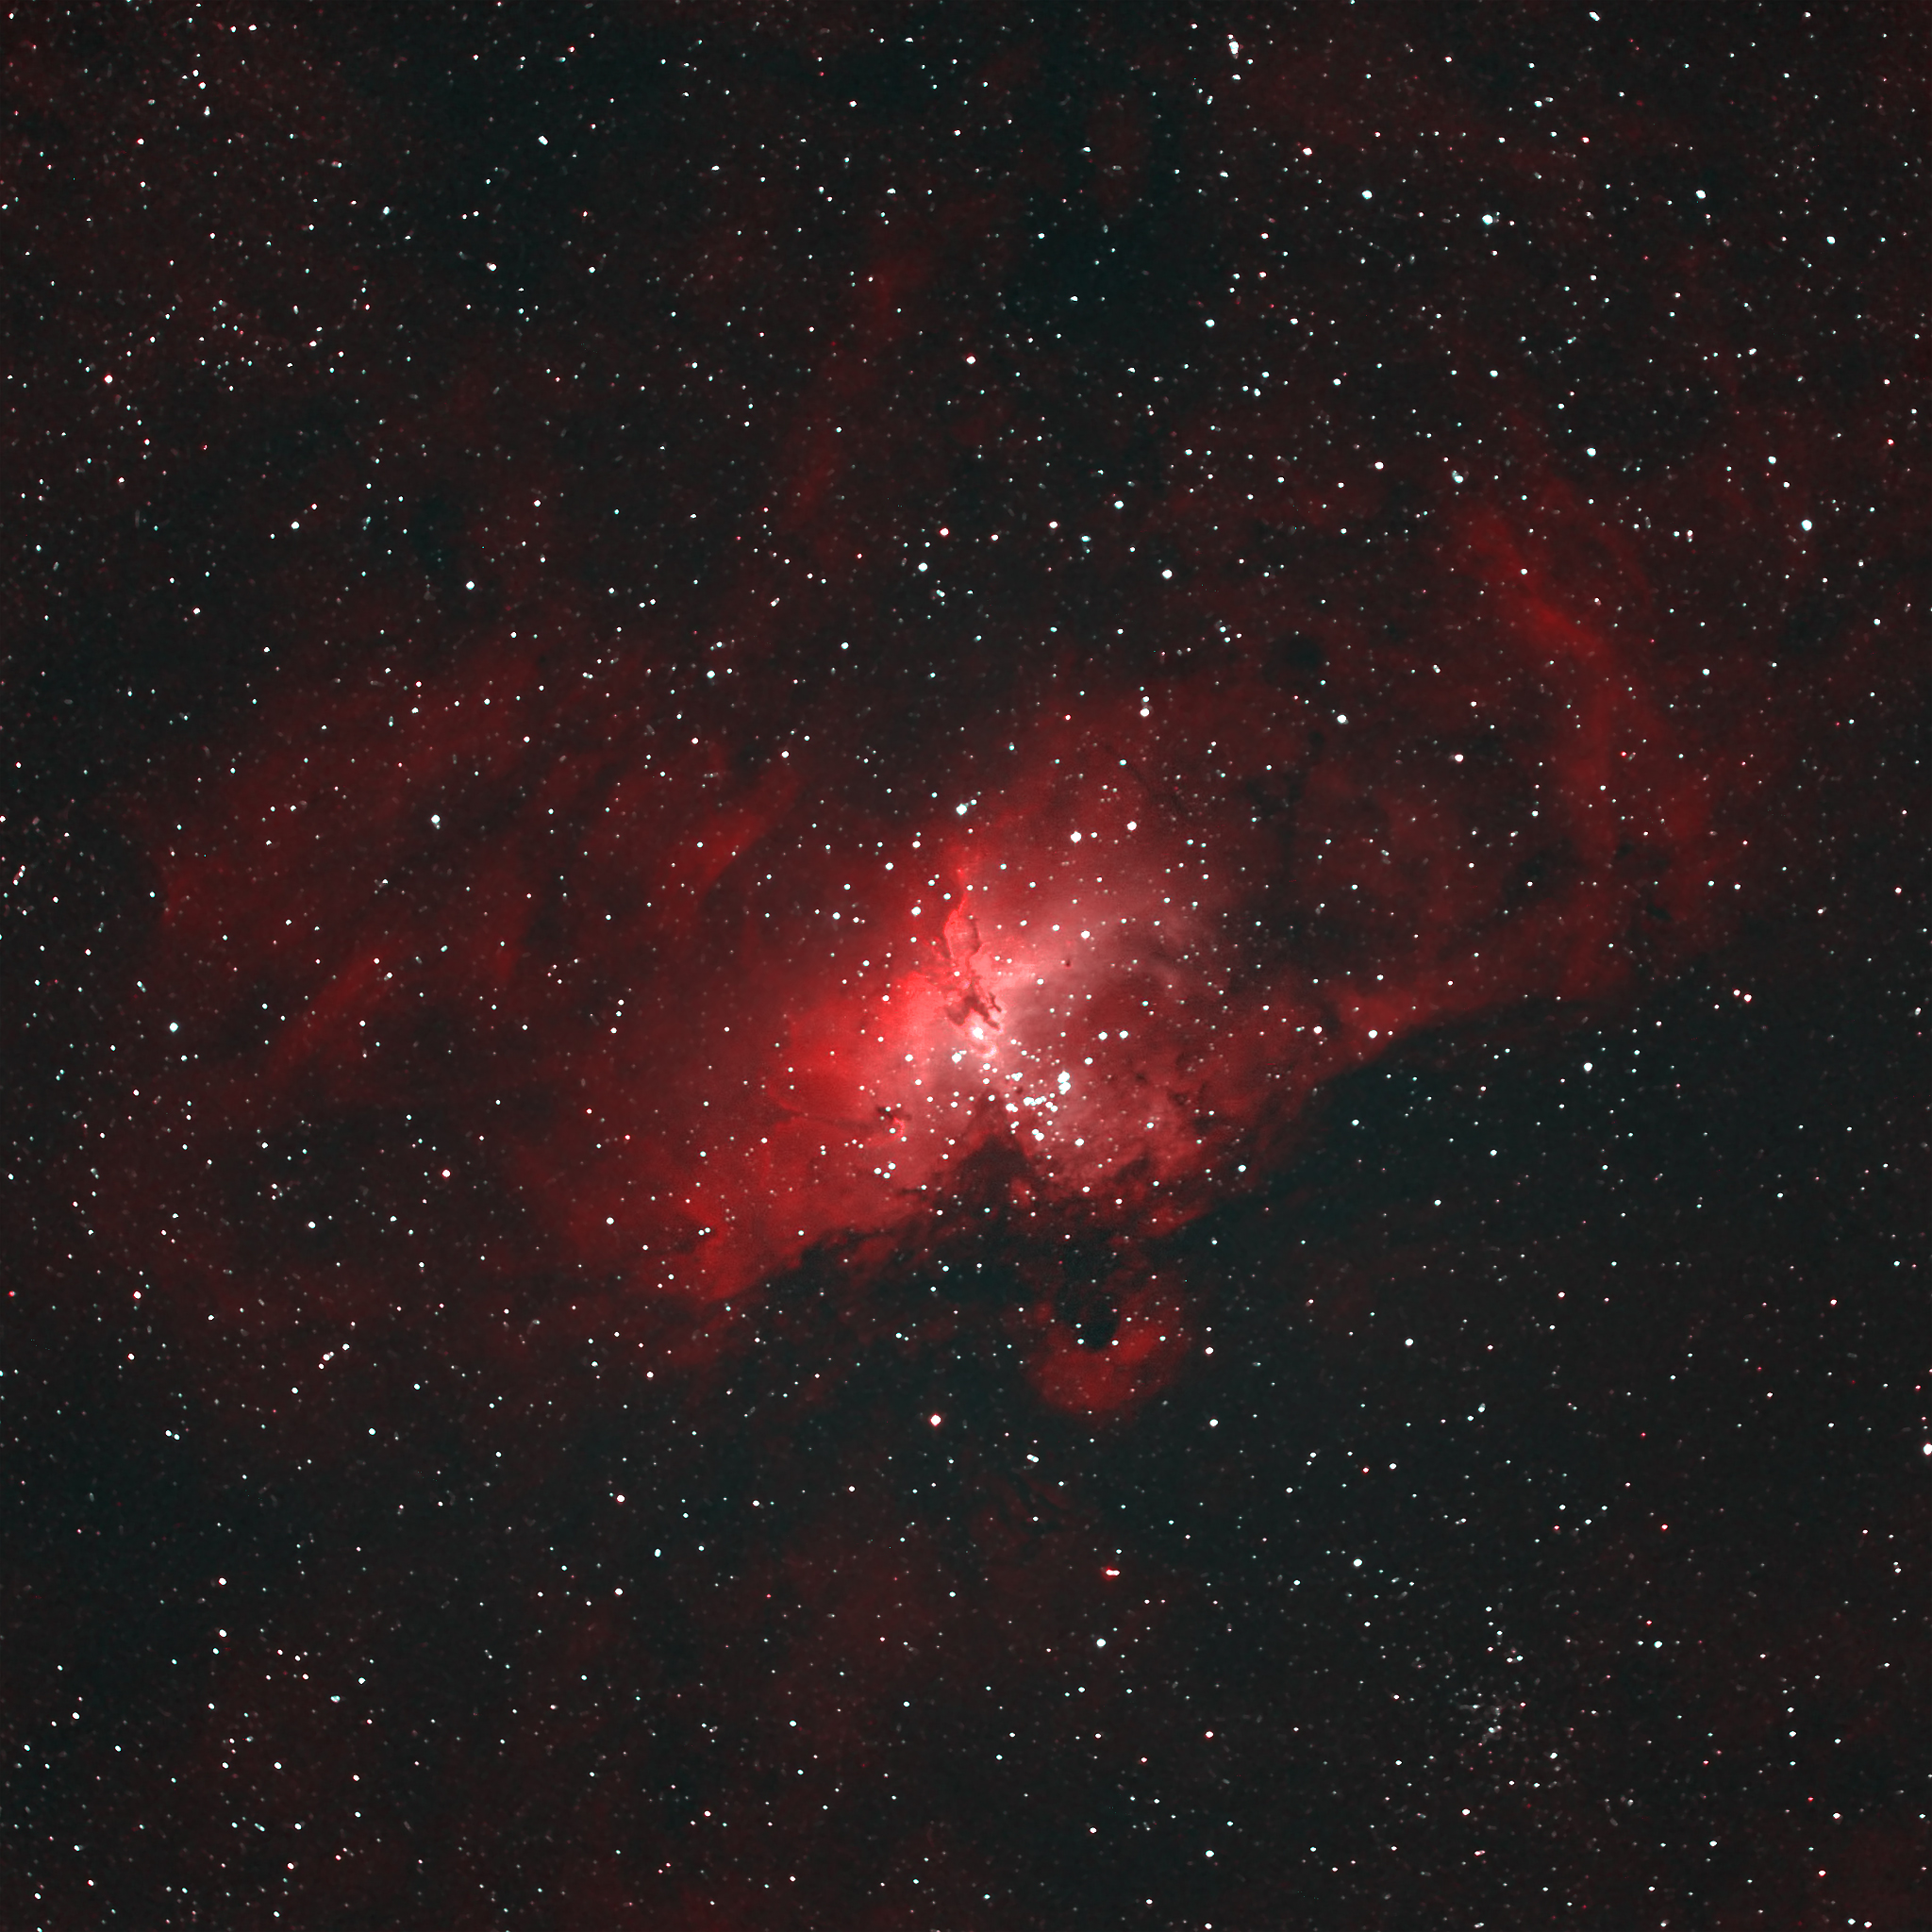

Adventures in Narrowband ... Eagle Nebula and others.
 Download Full Resolution (2048x2048) 1871KB
'Adventures in Narrowband ... Eagle Nebula and others.'
Adventures in Narrowband ... Eagle Nebula and others.
[Public Domain] 1 Sep 2015 Dylan O'Donnell
CATEGORY : Astrophotography
12,204 others viewed this post.
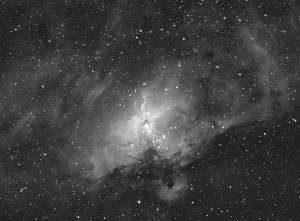
This one may get a little nerdy, so if you are here for the pretty pictures just skip the text and check out this photo of the Eagle Nebula I took last night!
If you want to deep dive with me into a little primer of how these “false colour” images are created however, read on …
Regular colour cameras have an array where 4 pixels (R, G, B, G) determine the colour of the final pixel in your image. Just like a TV or monitor when you look up close and see the individual RGB pixels. That’s how I take photos of these deep space objects, in “one shot colour”. So the colours you see may be enhanced but they are the same colours you’d see with your eyes, more or less.
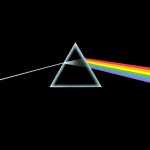
Recently I’ve started playing with narrowband filters which only let a small sliver of light through based on their chemical spectra. If you’ve ever seen the cover of Pink Floyds “Dark Side of the Moon” with the triangle prism dividing the white light into a rainbow, it’s like that except instead of a rainbow, you get a tiny fraction of one colour.
The main band/colour used for astrophotography is “Hydrogen Alpha” which is part of red. This is because stars and emission nebulas like this one are pumping out Hydrogen light primarily.
The photo you get though, using a filter like this is one colour as you’d expect. Only the red pixels in my camera pick up anything and I end up with a red image, which I then convert to grayscale. Even in black and white, the hydrogen image is quite spectacular :
The mono image is then mapped to the “Red” channel (if you want). In order to bring Green and Blue into the mix, you need some other narrowband filters to map those to as well. These are typically OxygenIII and SulpherII.
Hubble is famous for it’s “palette” used in the iconic “Pillars of Creation” image. It maps Ha to Green, OIII to Blue and SII to Red.
As I only have 2 filters though I’ve only been able to create “Bi-colour” images. Though they are “false” colours, the details are real and the colours represent real compositional light and can be mapped and mixed in a lot of creative and revealing ways.
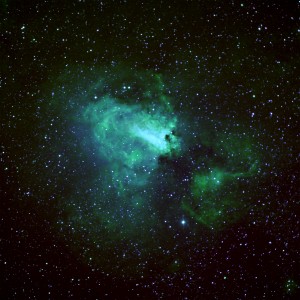
Here is a bicolour image of the “Swan Nebula” I also took last night, mapping HydrogenA to Green, and OxygenIII to Red & Blue :
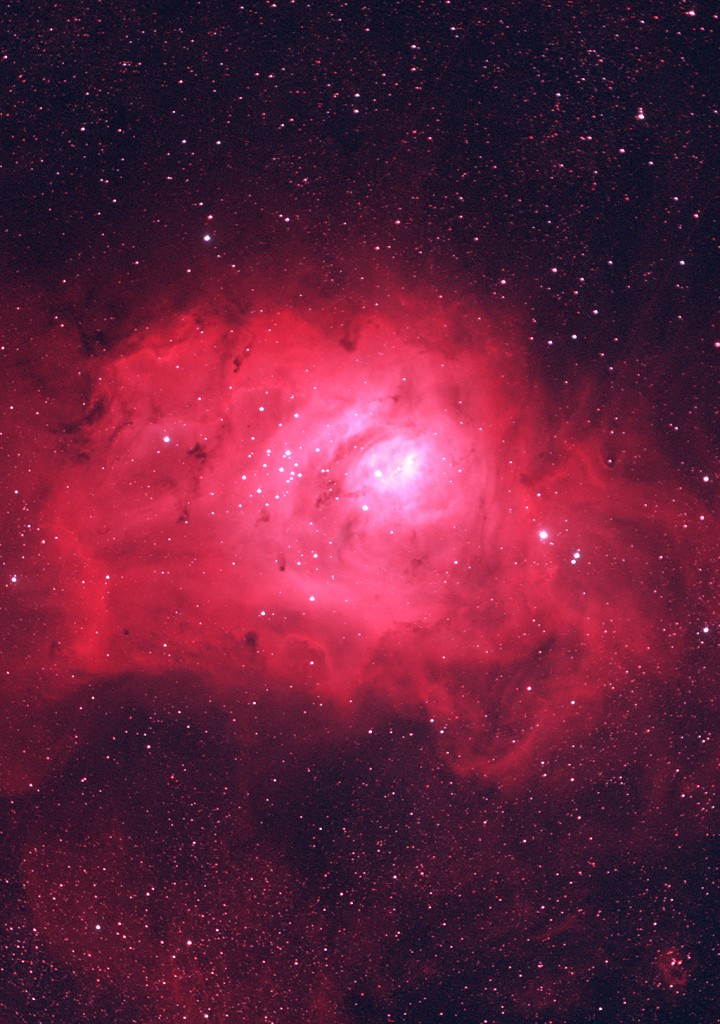
And here is the stunning Lagoon Nebula (M8) with Ha to Red, and OIII to Green & Blue.
This kind of narrowband photography takes longer as you have to do several sets of exposures in different bands, but has the added advantage of being able to “cut through” light pollution and even the glare of the full moon which is hugely beneficial to astronomers in the city, or those with poor weather generally whose moonless nights and clear conditions rarely align.
These are tentative steps for my processing with this method, but should improve my images going forward as I can now mix RGB, with Ha (for LRGB) or Bicolour shots like these, or even Hubble palette colourations in future which can be quite striking.
Until next time!
 Download Full Resolution (2048x2048) 1871KB
